Segments help you organize your project's participants into meaningful groups, such as “Participants with Baseline Survey incomplete” or “Participants within 1 week of surgery.” Once you have created segments, you can use them to:
- View information for a selected segment at a glance in the participant viewer.
- Schedule surveys for different segments.
- Deliver notifications to certain segments.
- Perform bulk actions on a group of participants at once.
Creating a Segment
To create a participant segment:
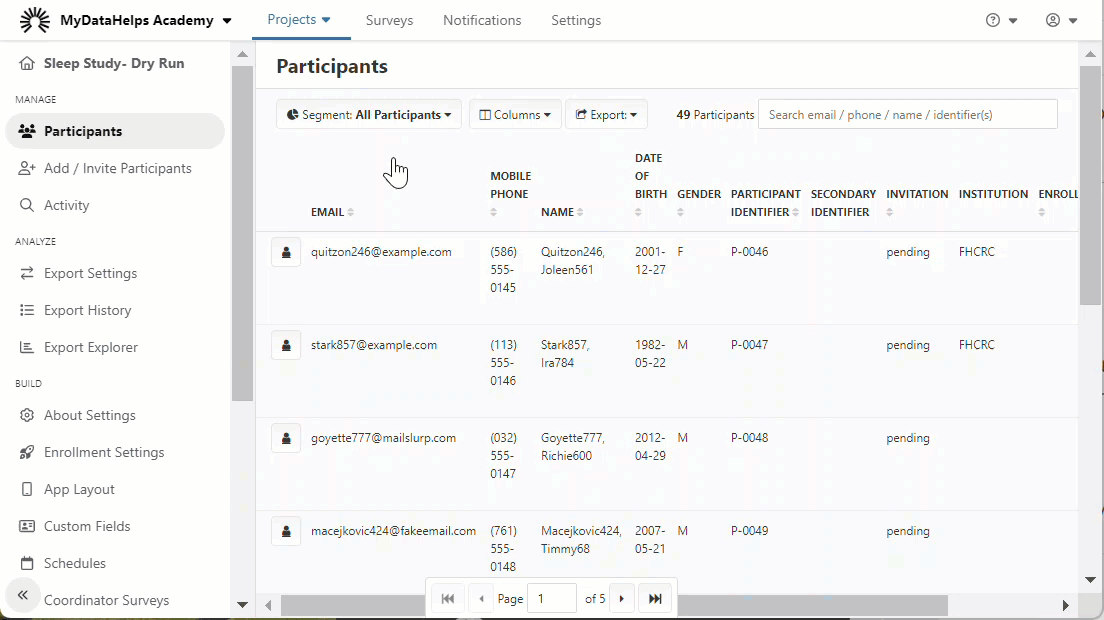
- Open your project and go to the "Participants" tab.
- Select the segment drop-down menu.
- Select "Add Segment".

- Enter a name for your segment.
- Optionally, select or create a segment category to organize your segment list.
- Add the filter criteria.

- Select "Save".
To customize which columns will appear for a segment every time it is loaded, select the "Column Layout" dropdown, select "Custom Layout", and then choose which columns to display as well as their display name (optional).
When setting filter criteria, you can select various options depending on the type of data. For text data you might select "contains" or "starts with." For numerical data you might select "equals" or "greater than or equal to." For more information on the filter criteria available, see Filter Criteria Types.
Using Advanced Filter Logic
Advanced filter logic allows you to set up more complicated filter criteria for your segments.
Select the "NOT" button next to any filter criteria to make it into the opposite condition. For example, if the filter criteria is "Gender equals Male" then adding NOT to it will make it select everyone whose gender is not male.
Select the "OR" button to add another criteria where either can be true.
Select the "AND" button to add another criteria where all must be true. The example below will select men who are age 65 and older.

Configuring Columns
In addition to setting your advanced filter logic for a segment, you can also configure which columns display by selecting the "Column Layout" dropdown. There are a few different options available:
- None: allows the individual user to choose which columns are displayed when viewing the segment.
- Custom Layout: allows you to control which columns display for all users viewing that segment.
- Shared Layout: users with segment editing permissions also have access to create shared segment layouts to be used in segments. If configured, these can be chosen from the Column Layout dropdown.
Additionally, you can control column display name and order using the custom and shared layouts.
When configuring your segment's columns, you can choose between different participant fields, coordinator surveys, and event-based survey statuses to display.
-
If you add any coordinator surveys as columns, you can quickly launch the survey right from your segment view.

-
Adding event-based survey statuses provides with an easy way to see survey status across many participants.

None
If None is selected, individual users can choose what displays by selecting the Columns dropdown.

Custom Layout
Choosing Custom Layout allows you to control the columns specifically for that segment, for all users.

Shared Layout
If you want to create a layout that can be used across segments, you can create a shared layout by doing the following:
- Click on the gear icon in the upper right corner and select "Edit Segment Layouts".

- From the dropdown, select "Create New Layout".

- Give the new layout a name and arrange the segments.

- Click "Save Layout".
From this window, you can add, edit, and delete layouts.
Exit the layout editor, then navigate back to your segment. Now, you can select the shared layout as well as preview which columns that includes by clicking the eye icon.

Modifying/Creating a Layout or Columns
In order to modify your layouts and columns, open your layout or columns drop-down, then you can:
- Add columns from the left side by clicking the + icon
- Remove columns by clicking the – icon on the right
- Reorder columns by clicking the ☰ icon and dragging the column to a new position
- Edit the display name by clicking the pencil icon on the right
Copying a Segment
Sometimes, you may want to create multiple segments with similar filter logic. Instead of starting from scratch for every segment, you can copy an existing segment and add or remove filter logic as needed. To copy a segment, click the copy icon next to the segment you wish to duplicate.

A new Segment editor will open with the same filter logic as the original segment.
Duplicate segment names are not permitted, so you will be required to populate the Segment Name field with a unique name before being able to save.
You may choose to copy the segment to the project you are currently working in or to a different project within your organization. For example, you may have a Dry Run project that you use for building and testing before pushing to a Production project. Instead of creating new segments from scratch, you can now copy segments directly from your Dry Run project to your Production project (refer to Testing Your Project for more on Dry Run and Production projects).
To copy segments from project to project, users must have "Project Builder" and "View/Manage Participants in All Segments" permissions. Update organization permissions by selecting Settings at the top of the page and then clicking Teams from the list of organization settings.
You can also use Project Compare to compare and move segments between projects.
Selecting a Segment
In the participant viewer, use the segment drop-down selector to choose which segment to view. You can also choose the default segment for "All Participants." The currently-selected segment is highlighted.

Using Segment Actions
There may be instances where you want to send a survey or notification to a specific segment. For example, you may want to send an enrollment reminder to participants who have not yet enrolled.
You can perform actions on any segment except "All Participants." The following actions are available:
- Send a survey to all participants in the segment.
- Deliver a notification to all participants in the segment.
- Close a survey for all participants in the segment.
- Set a custom field for all participants in the segment.

The example below will send an enrollment reminder to participants' default email address - this can be found under the demographic information for the participant.

There may be instances where you need to send an email notification to additional email addresses, or an SMS notification to additional phone numbers. To accomplish this, first you need to create custom fields with a data type of phone or email. Once the custom fields are defined, you can select them from the dropdown menu next to "Use Custom Field".

Editing or Deleting a Segment
To edit a segment's name or filter criteria, select the edit icon from the segment drop-down.

When opening the segment editor, you will also notice a copyable Segment ID in the upper right corner. This can be helpful for querying using the REST API.

To delete a segment, select the red trash icon.
You cannot edit or delete the "All Participants" segment.
Segment Categories
To set up segment categories for your project, you can create a segment, select "Create New Category", and enter your segment category name.

Once you have created a new segment category, you can then select the segment category for future segments.

After creating and selecting your segment categories, you will be able to view your segments based on their assigned segment category within the "Participants" tab. Expand and collapse categories as needed.
