Creating Multilingual Surveys (Localization)
You can make surveys available in multiple languages in a process called localization. You provide translations for your survey steps/questions, survey titles, and notifications within MyDataHelps Designer, and the MyDataHelps app will display prompts in the appropriate language based on the language settings in the participant's device or browser.
This article specifically addresses surveys, but there are several other aspects you may want to localize as well, such as notifications and the participant app tabs. See Configuring Your Project for Multiple Languages (Localization) for more details.
Localizing Survey Steps
To translate your survey into additional languages:
- Open your survey in the Survey Editor.
- Your survey will initially be in the default language (usually English).
The default language is defined in the in project's About Settings and will be used for all participants until you add language-specific localization. - Select Add Language and choose a language (such as Spanish).

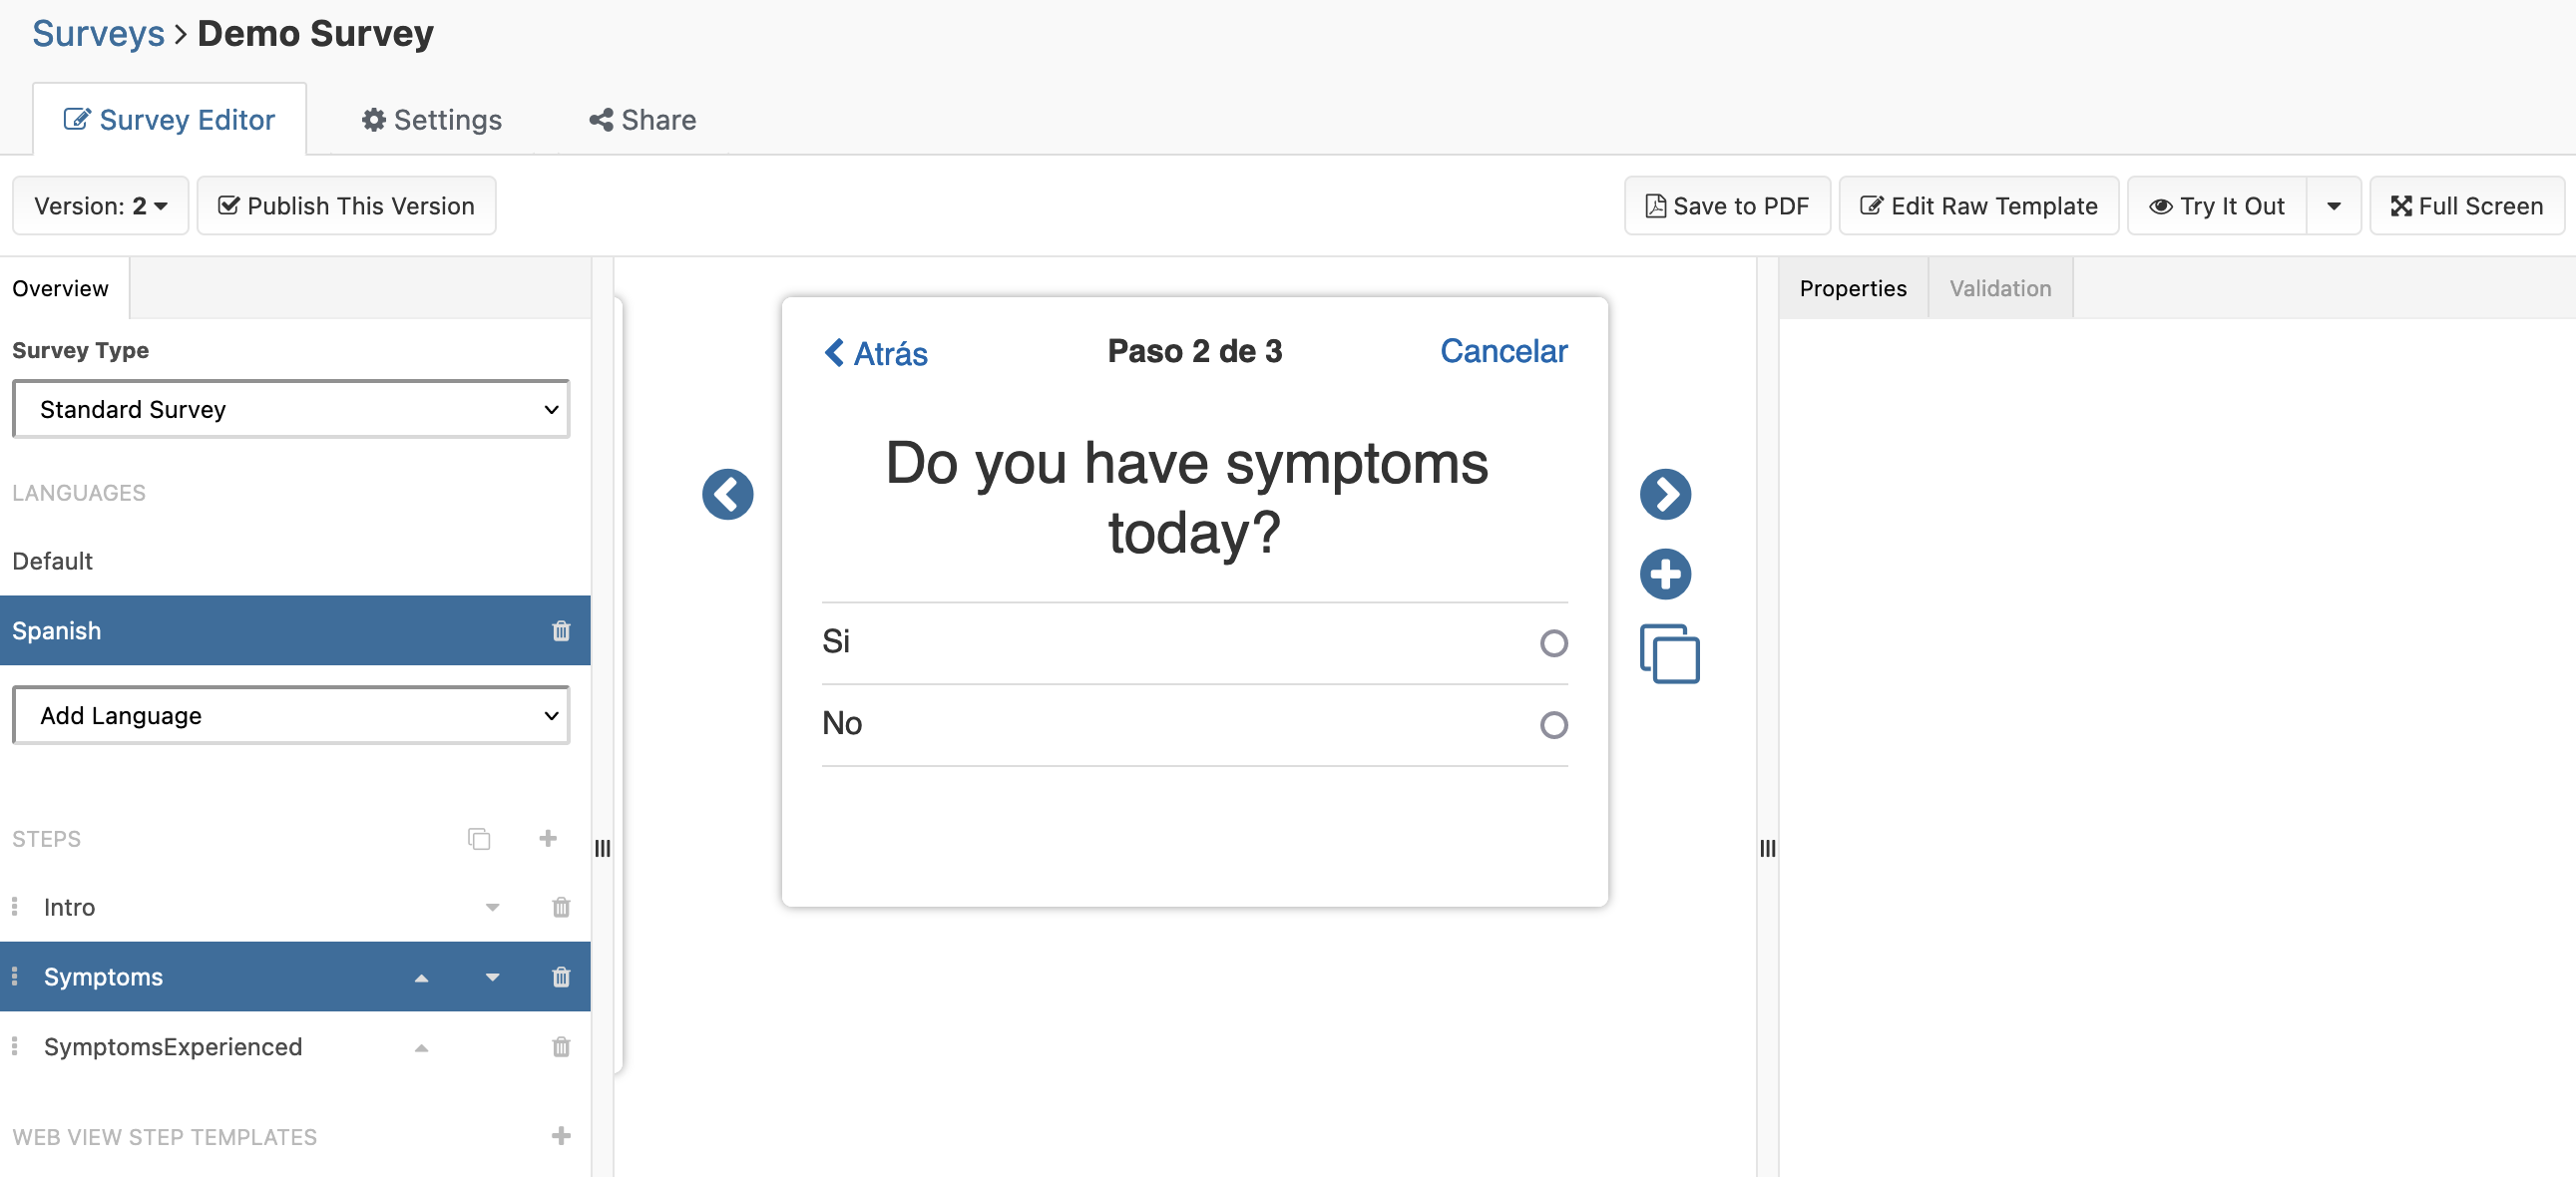
Your survey will switch to that language. Menu and button prompts in the preview pane will change to the selected language, but the question text will still be in the default language.
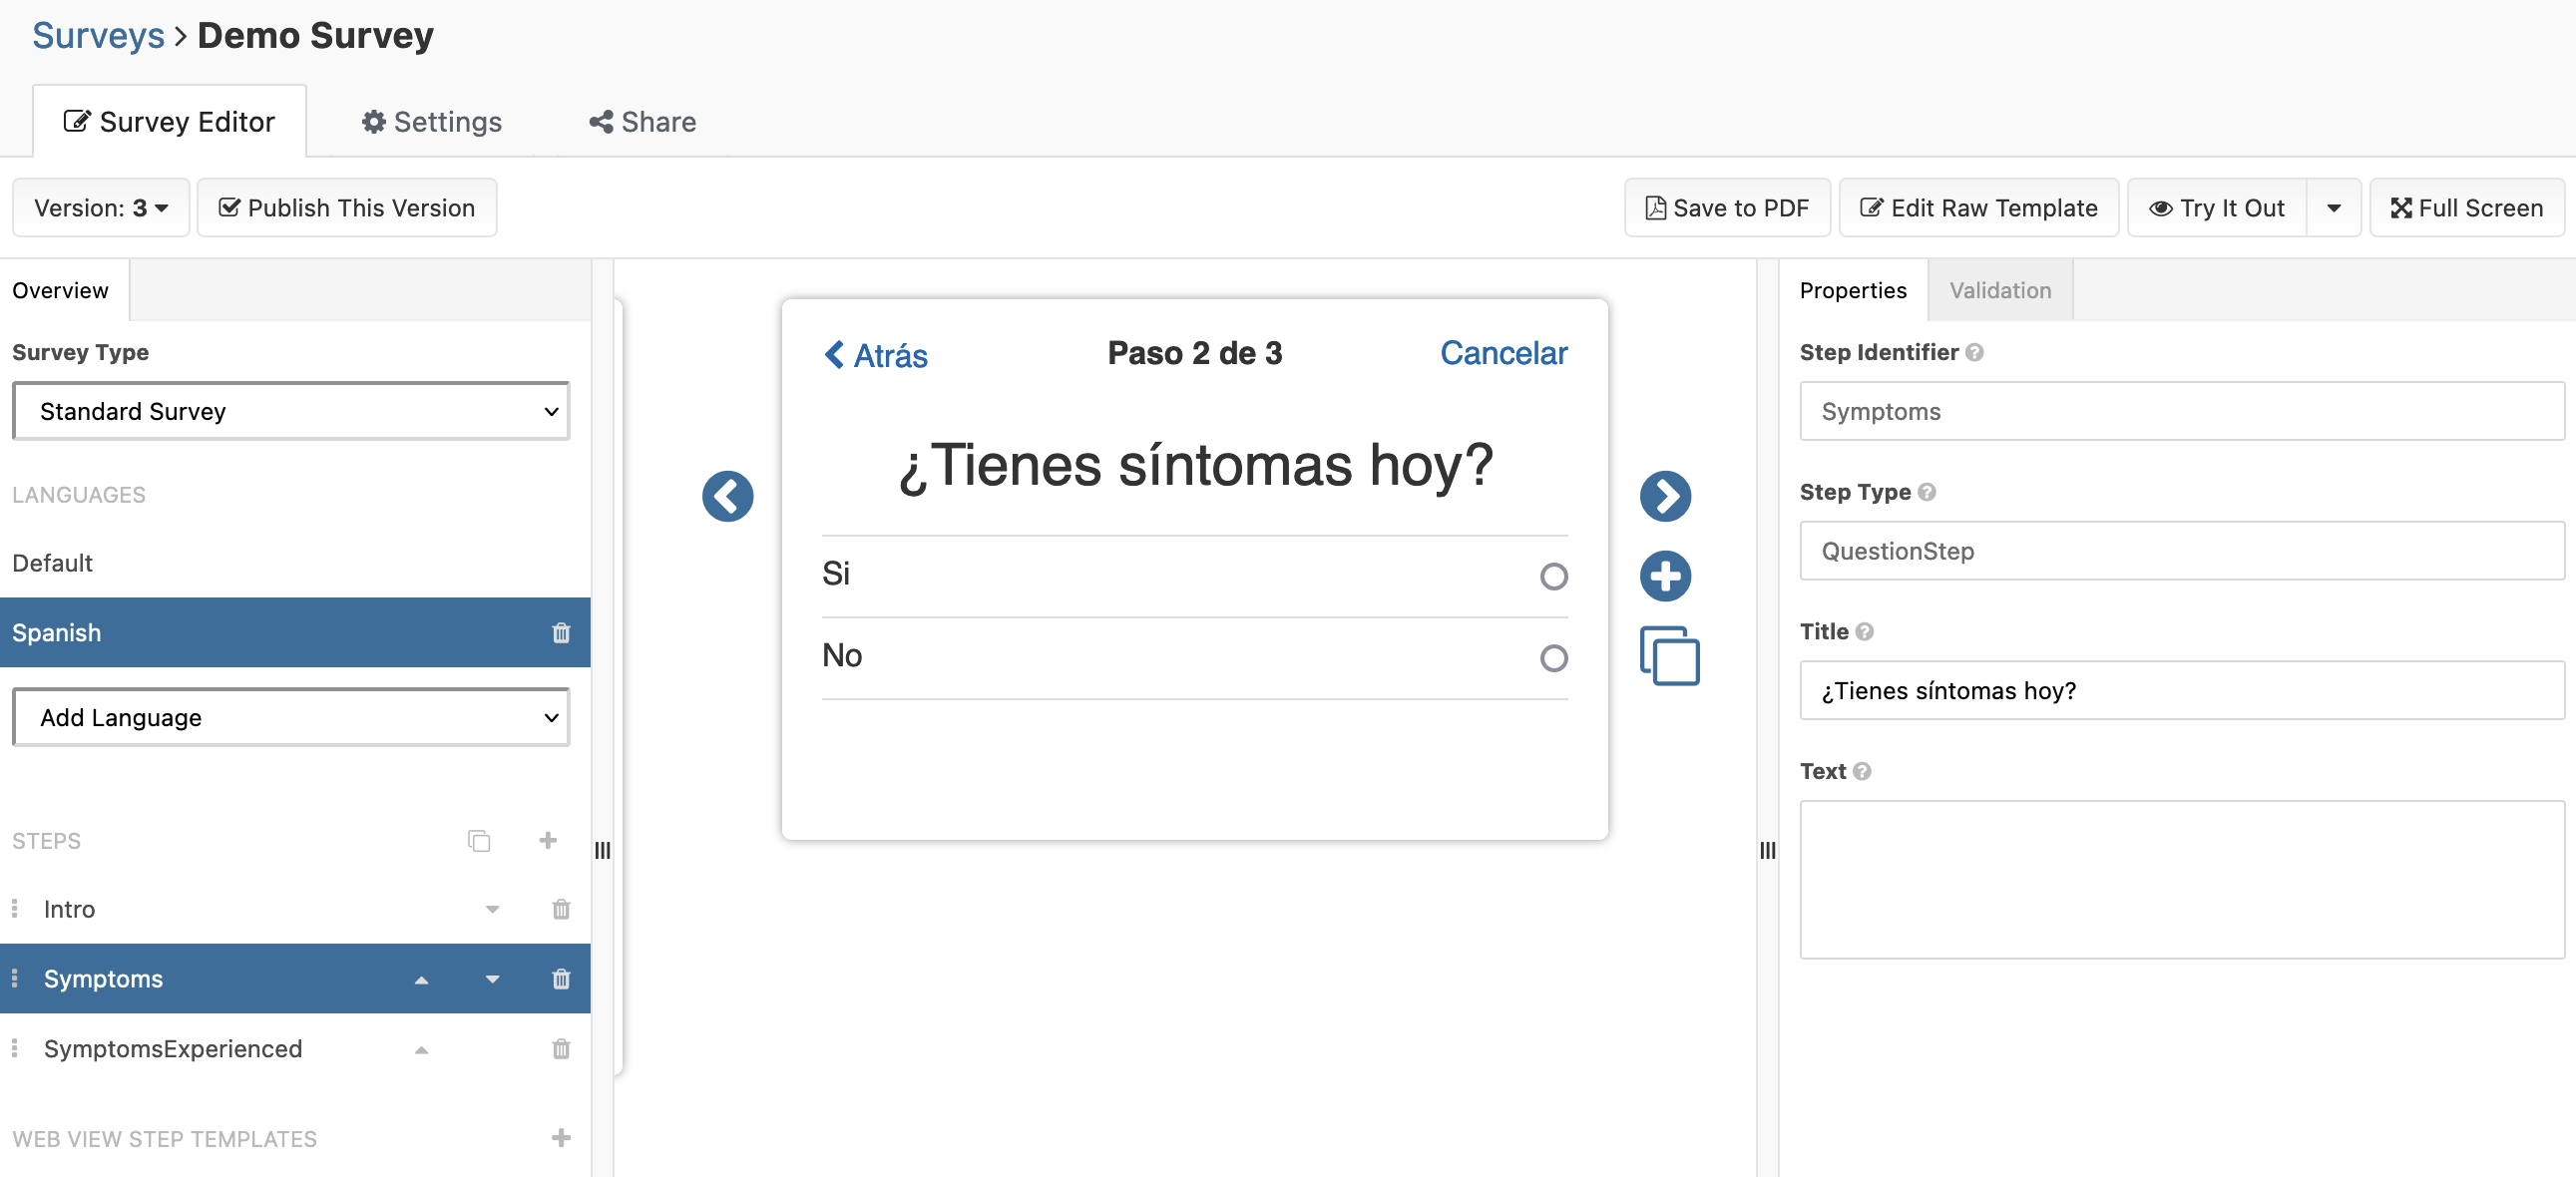
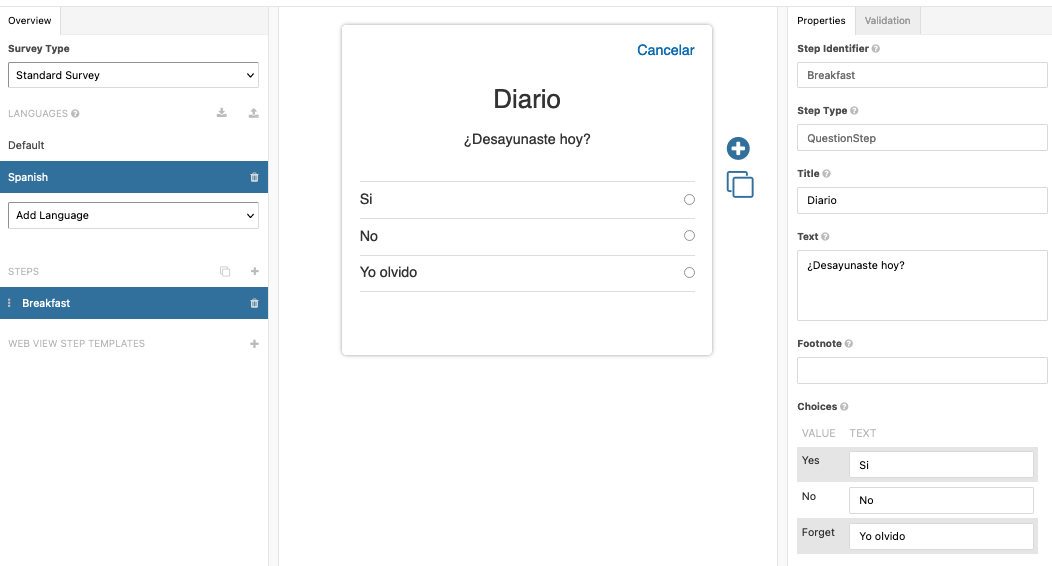
- Enter language-specific text for each survey question in the Properties pane. Any text left blank will use the text from the default language.

- Save the survey.
- Add additional languages if needed. You edit your survey in different languages by selecting the language name from the list at left.
You may only modify survey logic (step identifiers, navigation/validation rules, choice values, etc.) in the default language. These changes will be carried over to all languages to keep the survey logic and identifiers consistent.
Download & Upload Localization Strings
Many teams use translation services which do not have access to MyDataHelps Designer to directly translate and update localized surveys. An easy method to navigate external parties needing access to survey strings is to download the strings, have the translated strings added, and then upload the complete string file.
Download Survey String File
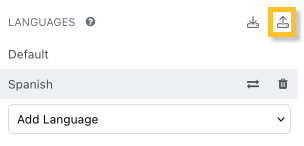
After you have added new languages to your survey, you'll have the option to download the string files using the download icon:

This action will provide a CSV file that has a few columns. The first column is the key, which is a combination of the step and field that refer to a specific string. The other columns are for each language. Strings that already have values will be displayed.

If you want to use Excel to edit the CSV files, follow these steps:
- Download the strings.csv from MDHD.
- Open in Notepad++ and select Encoding > Convert to UTF-8 BOM. SAVE THE FILE.
- Open in Excel for editing and save.
- Open in Notepad++ and select Encoding > Convert to UTF-8. SAVE THE FILE.
- Upload the strings.csv file to MDHD (as detailed in the section below).
Upload Survey String File
Using the downloaded file, you can adjust and populate strings for your survey. It is important that the Key column remain unchanged, otherwise the strings cannot be mapped properly.

Using the upload button, you can upload your amended CSV file:

Upon a successful upload, your translated strings will now be populated in your survey.

Generate Strings
If you'd prefer to generate translated strings using artificial intelligence (AI), you can select "Generate" after you add a new language.

You can choose to fill in only missing string fields or to overwrite and translate all strings fields for the language, then select "Translate."

Translation can take some time and you'll need to leave your browser window open to let it finish.
Once translation is complete, it will be automatically applied to the survey. We recommend reviewing the survey to check that all strings were translated. You can always overwrite strings manually as necessary.

If you later make any updates to your survey, you can select the translate button to re-translate. Again, choose to translate empty string fields, such as in the case where English strings were only added, or to overwrite all string fields, such as in the case where English strings were updated, not just added. Choosing to overwrite will lose any manual adjustments previously made to the strings.

Localizing Survey Titles and Descriptions
To present a different survey title and/or description in different languages:
- Open the survey and go to the "Settings" tab.
- Select a language from the drop-down menu next to the "Display Name" or "Display Description" fields.
- Enter the desired title and/or description for the selected language. If a field is left blank, the default description/title will be used.
